Dynavin D8-MST2005 FAQ

![]()
Mustang 2005-2009 (D8-MST2005)
Disclaimer: Although we encourage the DIY spirit, it is important to realize your limits. If you have doubts about your ability to install one of our products, please contact a professional installer. Click here to find a Dynavin installer in your area (if none are available, any experienced audio installer is capable). It is the sole responsibility of the purchaser and installer to employ the correct installation techniques and materials. Any damage resulting from improper installation or use is the sole responsibility of the purchaser as is confirming compatibility and any limitations that might be present with your particular vehicle. IMPORTANT: Do not alter any components without first contacting Dynavin North America. Please email us at support@DynavinNorthAmerica.com if you have any questions or concerns.
1. INSTALL VIDEOS AND GUIDES (CLICK HERE)
2. AUDIO TROUBLESHOOTING AND WIRING CONFIGURATIONS (CLICK HERE)
3. No Audio Troubleshooting: If there is no audio, check that the 4-pin plug on the "MST2005" harness is connected to the back of the radio. Click here for details.
4. Bass/Subwoofer: Not hearing bass/subs? Click here and see page 2.
5. Parts Included: Click here. THE PARTS ARE UNDERNEATH THE STYROFOAM IN THE BOX.
6. Microphone: The external microphone included in the box must be installed. The radio will not work with the factory microphone.
7. Backup/Front Camera: The Dynavin is backup and/or front camera compatible with aftermarket universal cameras.
Click here for Aftermarket Backup Camera Wiring help
Click here for the Aftermarket Front Camera Guide
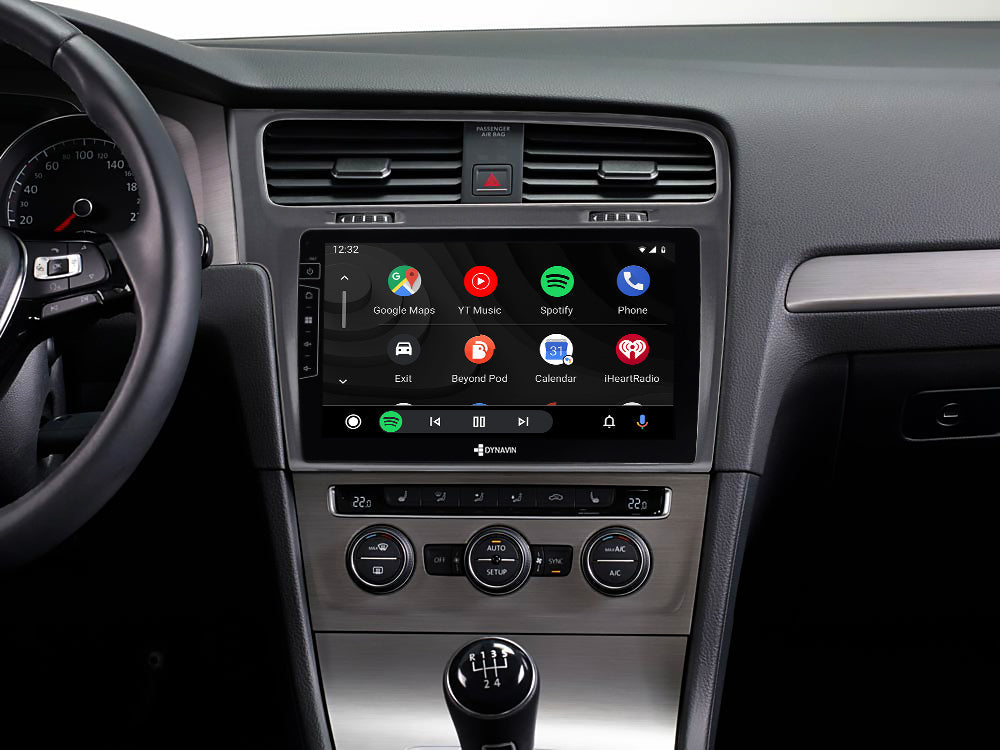
8. USB Ports, Apple CarPlay & Android Auto: There are two USB ports on the back of the Dynavin radio. The USB port labeled “PHONE” is used for charging of any smartphone. The "MDI & CP" or "MEDIA" USB port is for wired Android Auto, a media flashdrive, and for updating the firmware. Each of the provided 3 ft USB extension cables are plugged into the USB ports on the back of the radio. For Android Auto, simply plug in your phone via USB cable to the “MDI & CP” or "MEDIA" USB extension cable and it will initiate Android Auto automatically. If CarPlay is not connecting properly, make sure you have the included Bluetooth WiFi antenna threaded onto the back of the Dynavin labeled “WIFI BT”. Click here for more.
9. Bluetooth Pairing: If Bluetooth is not connecting, see the bolded text above. To pair your phone to the Dynavin’s Bluetooth, go to the Bluetooth settings on your phone. Search for devices and select Dynavin 8. If needed, the PIN is 0000. If you need to delete a phone pairing, go to the “Phone” menu, and select the “Setup” gear icon in the lower right corner of the screen. Scroll down to “Select telephone”. Tap the X next to the phone pairing you’d like to delete. Click here for more Bluetooth troubleshooting.
10. GPS Navigation: iGO Primo GPS navigation software comes preloaded. No more microSD cards! Make sure to plug in the GPS antenna to the BLUE plug on the back of the radio and test placement for good reception. Even if you don't plan to use GPS navigation, if you want the time to display on the Dynavin you must install the GPS antenna.
11. SiriusXM Tuner: If you are installing the SiriusXM SXV300 tuner, go to the “System” menu from the main screen and make sure that “System Language” is set to US. Then once the tuner and antenna are installed properly (using the provided adapter cable), in the “Radio” menu you will see the “Sirius” or “SAT” option selectable on the lower left corner. It can take about 24-48 hours for it to fully populate categories, station info, etc.
12. Boot Logo: If you want to customize the boot logo, you can find the instructions in the Dynavin Owner’s Manual on page 32 or click here.
13. Plug-and-Play: Dynavin radios are plug-and-play. There is very little to no wire cutting involved. Please contact us before you modify any parts unless instructed to do so by us (Dynavin North America) or as stated in one the install guides on our website.
14. Firmware Updates: Periodically, Dynavin releases new firmware to update the Dynavin’s software for bug fixes, added functionality, and/or general improvements. Click here for the latest firmware updates and step-by-step instructions.
15. Rebooting Manually: After installation, please reboot the Dynavin manually by pushing the “RST” (reset) button with a paperclip found behind the “SD” cover on the front of the radio.
For install or tech support, please email support@DynavinNorthAmerica.com
We would greatly appreciate you sharing your experience with us! Check your email for the RaveCapture review link or click here and get a $10 refund with your honest review and Dynavin radio install pic! (Email brittany@dynavinnorthamerica.com with your install pic if you have trouble uploading it.)

